
Well, Christmas is over and you have a brand new camera! Now you would like – or have been asked – to take pictures without flash during the church service or in other low-light situations.
First, low-light photography is not an easy task, but it’s getting better with a number of the new cameras currently on the market.
Let’s start with the user manual. Yes, you will have to read some! I know you just want to pick up the camera and take pictures and that’s great. But, sometimes you will not get the results you are looking for until you understand some of your camera’s features.
Many of you will start on programmed auto mode – it may be the default setting when you take the camera out of the box. This is not always the best, but in the beginning it may be a good starting point. You should try this before the event and see how the pictures come out. Also, when you take the pictures, observe the shutter speed. A shutter speed slower than 1/250 of a second may not stop motion, or be able to keep focus in low light. Using a tripod or monopod can help avoid camera shake with slow shutter speeds (although it won’t stop motion).
If you like the results, then fine. If not, the next step is to read the section of the user manual that explains the following terms: ISO settings, A-aperture priority, S-Shutter priority and manual setting.
From the Digital Photography School website, this is an example of finding the best ISO for your camera:
ISO refers to the level of light sensitivity of your camera. The higher the ISO the more sensitive the sensor is to light, therefore the less light is needed to make a good exposure. The downside is that the higher the ISO, the more “noise” you will find in your image. Noise is a grainy look as opposed to a smooth look. Some noise is okay and it can often be removed in post processing.
When photographing in low light, turn your ISO up as high as you can before the image quality gets too noisy. This setting is different on every camera and an acceptable amount of noise is different for every photographer.
Now that you know or have set the highest acceptable ISO for your camera, you can now set the A-aperture priority setting on the camera (also referred to as “F-stop,” where “F” stands for “focal”). Aperture is the most important setting, because it controls depth of field. Depth of field refers to the range of distance that appears acceptably sharp. By this, you control what the person’s eye focuses on when looking at the photo. Again, this should be in your manual, or you can check out this tutorial: cambridgeincolour.com/tutorials/depth-of-field.htm.
Now that you know what the aperture does, what does the aperture number mean? The smaller the number, the more light you have on the sensor (i.e. F4 is has more light than a setting of F8) and the narrower the depth of field. Now you can change the aperture until you get a shutter speed above 1/250 of a second. This can be combined with your knowledge with ISO to get the results you’re looking for.
Here are a couple of examples of pictures I’ve taken that use a narrow depth of field to draw the eye to the desired subject.
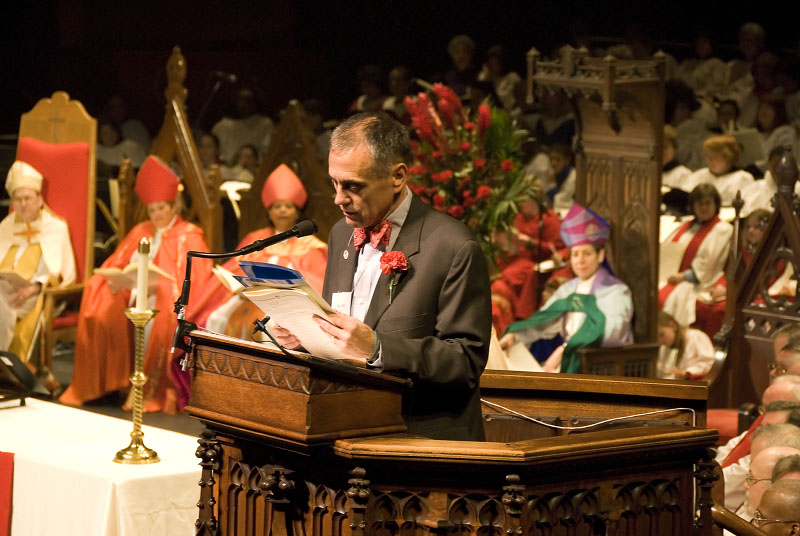
This photo of Michael Francaviglia reading at Bishop Beckwith’s consecration used an aperture of F/5.3 with ISO 800 and a shutter speed of 1/45 of a second (a little faster shutter speed would have been better). Notice how Michael – the subject of the picture – is in focus, while the bishops and choir behind him are slightly out of focus.
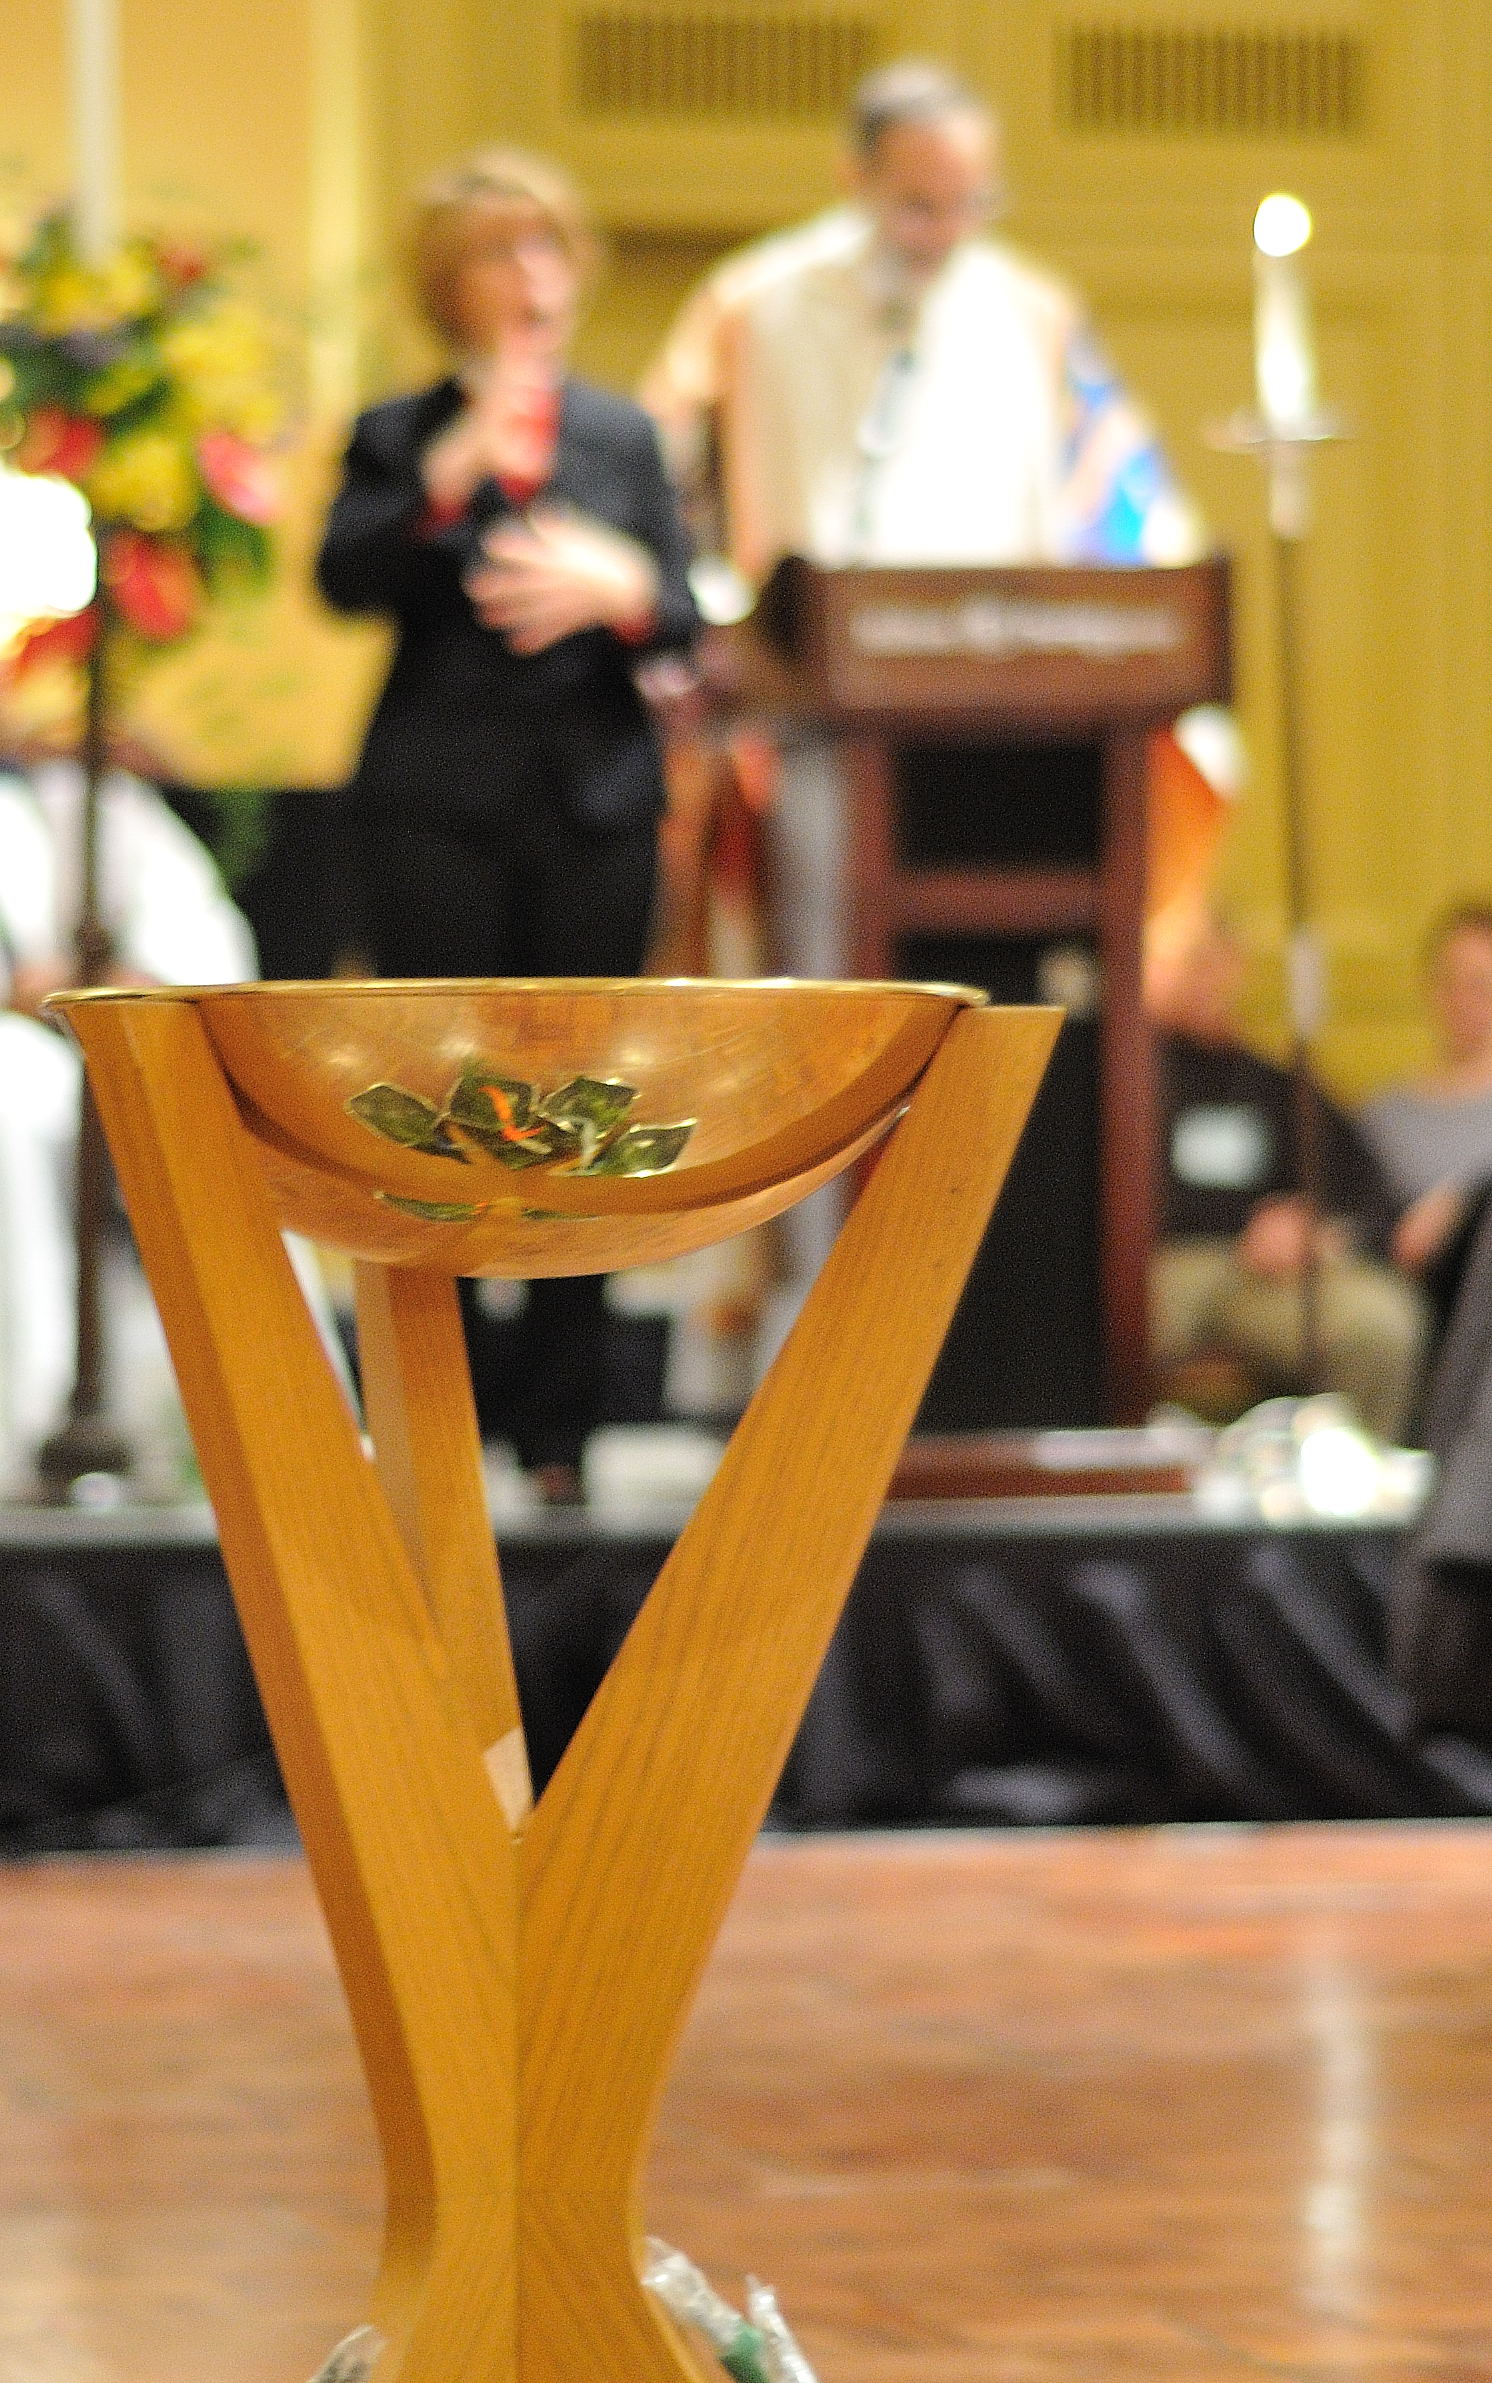
This photo from a past Diocesan Convention used an aperture of F1.8 for an even narrower depth of field to draw the eye to the chalice (this picture also used ISO 800, with s shutter speed of 1/30 of a second):
Again, with digital photography you can try a number of settings and see what you like. There may be some trial and error – but the way to learn is keep-taking pictures!
There are many websites that will go into the details involved in low light photography. I have selected a few of examples:
digital-photography-school.com/low-light-photography-shoot-without-tripod
digital-photography-school.com/iso-settings
cambridgeincolour.com/tutorials/depth-of-field.htm
Steven has been photographing major diocesan events for years, and will be photographing the upcoming Annual Diocesan Convention. You can see more of his photography at stevenboston.com/diocesephotos.


Add new comment
Our comment policy requires that you use your real first and last names and provide an email address (your email will not be published). The Communications Office of the Episcopal Diocese of Newark reserves the right not to publish comments that are posted anonymously or that we deem do not foster respectful dialogue.